Monday 18 February 2008

occlusion test 2


What I have done for this test is demonstrate in the same image the difference certain tweaks make to the occlusion. Here I have done a test changing the colour of the shadows, which is very handy because having a different colour for the occlusion could help give our film a totally different look. I have also done tests with the occlusion option reflective switched on which is the bottom left of the image and the bottom right of the image is with reflective turned off. These are with max distance 20 and spread at 0.800

occlusion test 1


Above this is test is with no max distance set and the spread is at standard 0.800. Below I have tweaked the max distance to 10 and the shadows have become a lot softer and evenly spread

Ambient Occlusion Pass


Ambient Occlusion is something that we may or may not use in the final rendering process of our film, but it is something worth looking at so I have just done a few tests and played around with a few settings. Occlusion adds reaism to the final render. It adds another layer of detail that will help add an extra bit of quality to the final render.

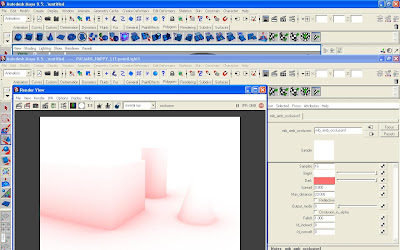
To render the occlusion render pass once again you select everything in the scene and create a lyer. Right click on the layer and in presets maya already has the setting occlusion. Click on the occlusion preset and the whole scene will turn black. In the render you will see your objects but in the occlusion settings you can adjust how much shadow you want to be displaced, the colour of the shadows, how much detail you want the occlusion to portray. The higher the spread and the max distance settings are the longer each frame will take to render.

Tuesday 12 February 2008

Rendering in Layers pt4


Secondly the reason why the floor is very important in this scene alsi is because without a floor of some sort your not going to get the shadw of the object. When you click on the floor you go to render stats but this time only turn off cast shadows becuase it will be recieving the shadows.

Finally in the render layer option you click on the flag icon and then in the render pass options you change the tick from Beauty to Shadow. Now the shdow render layer is set up and when you click on render you should get this balck and white image.

Rendering in Layers pt3


Shadow Pass

In the shadow layer I have picked what I want in the scene so it will be the shapes, the floor which is vital and the light which is also important. YOu need to decide vitally what int he scene you will have recieve light and what will be casting shadows. The objects in the scene will need to cast shadows, and as we dont want to see the objects in the render and only the shadow of the object you also need to click primary visibility off.
You select the animation and change the setting from display to render. You then select the icon with a blue ball which will create your render layer. You can delete or add anythin to this particular layer. Once you select your layer all you will see is the aniamtion and whatever else you have selected to add to that layer.


Rendering in Layers pt1


I have set up just 3 simple 3d shapes to demonstarte how the rendering in layers works. The first screen shot shows the scene set up and the second I have added colours to the shapes and a light in the scene which is vital to the shadow pass and the animation pass

Rendering in Layers

Aminata mentioned to me to look into rendering in layers. We are thinking of using this rendering technique because for what we want to do it will save more time rendering such things like the animation,shadows of characters,background and possibly an occlusion pass seperately and then compositing them together again in after effects. I have looked at a tutorial on www.tutorialcentral.com on this process, and it seems to be quite straight foward.

Saturday 2 February 2008

Flower Pots

I have also done a variety of different flower pots


Books

I have done some books, the texturing will help it look old and new. I have done different sizes as well.


Vases

I was told to do 3 vases but I did a few more so that Aminata can pick which one she likes better or if she wants nething changed